Episode 19: The Sleeper Has Awakened – S1

X-Rok

281

Abstract

Irrelevant Coalitions, Sleeping Giants Wake, and Wars Fought Good.

Viewing: Vertical
Guess Who’s Back? Back Again.
1 / 0
CBR In-Game Screenshot of Guess Who’s Back? Back Again.

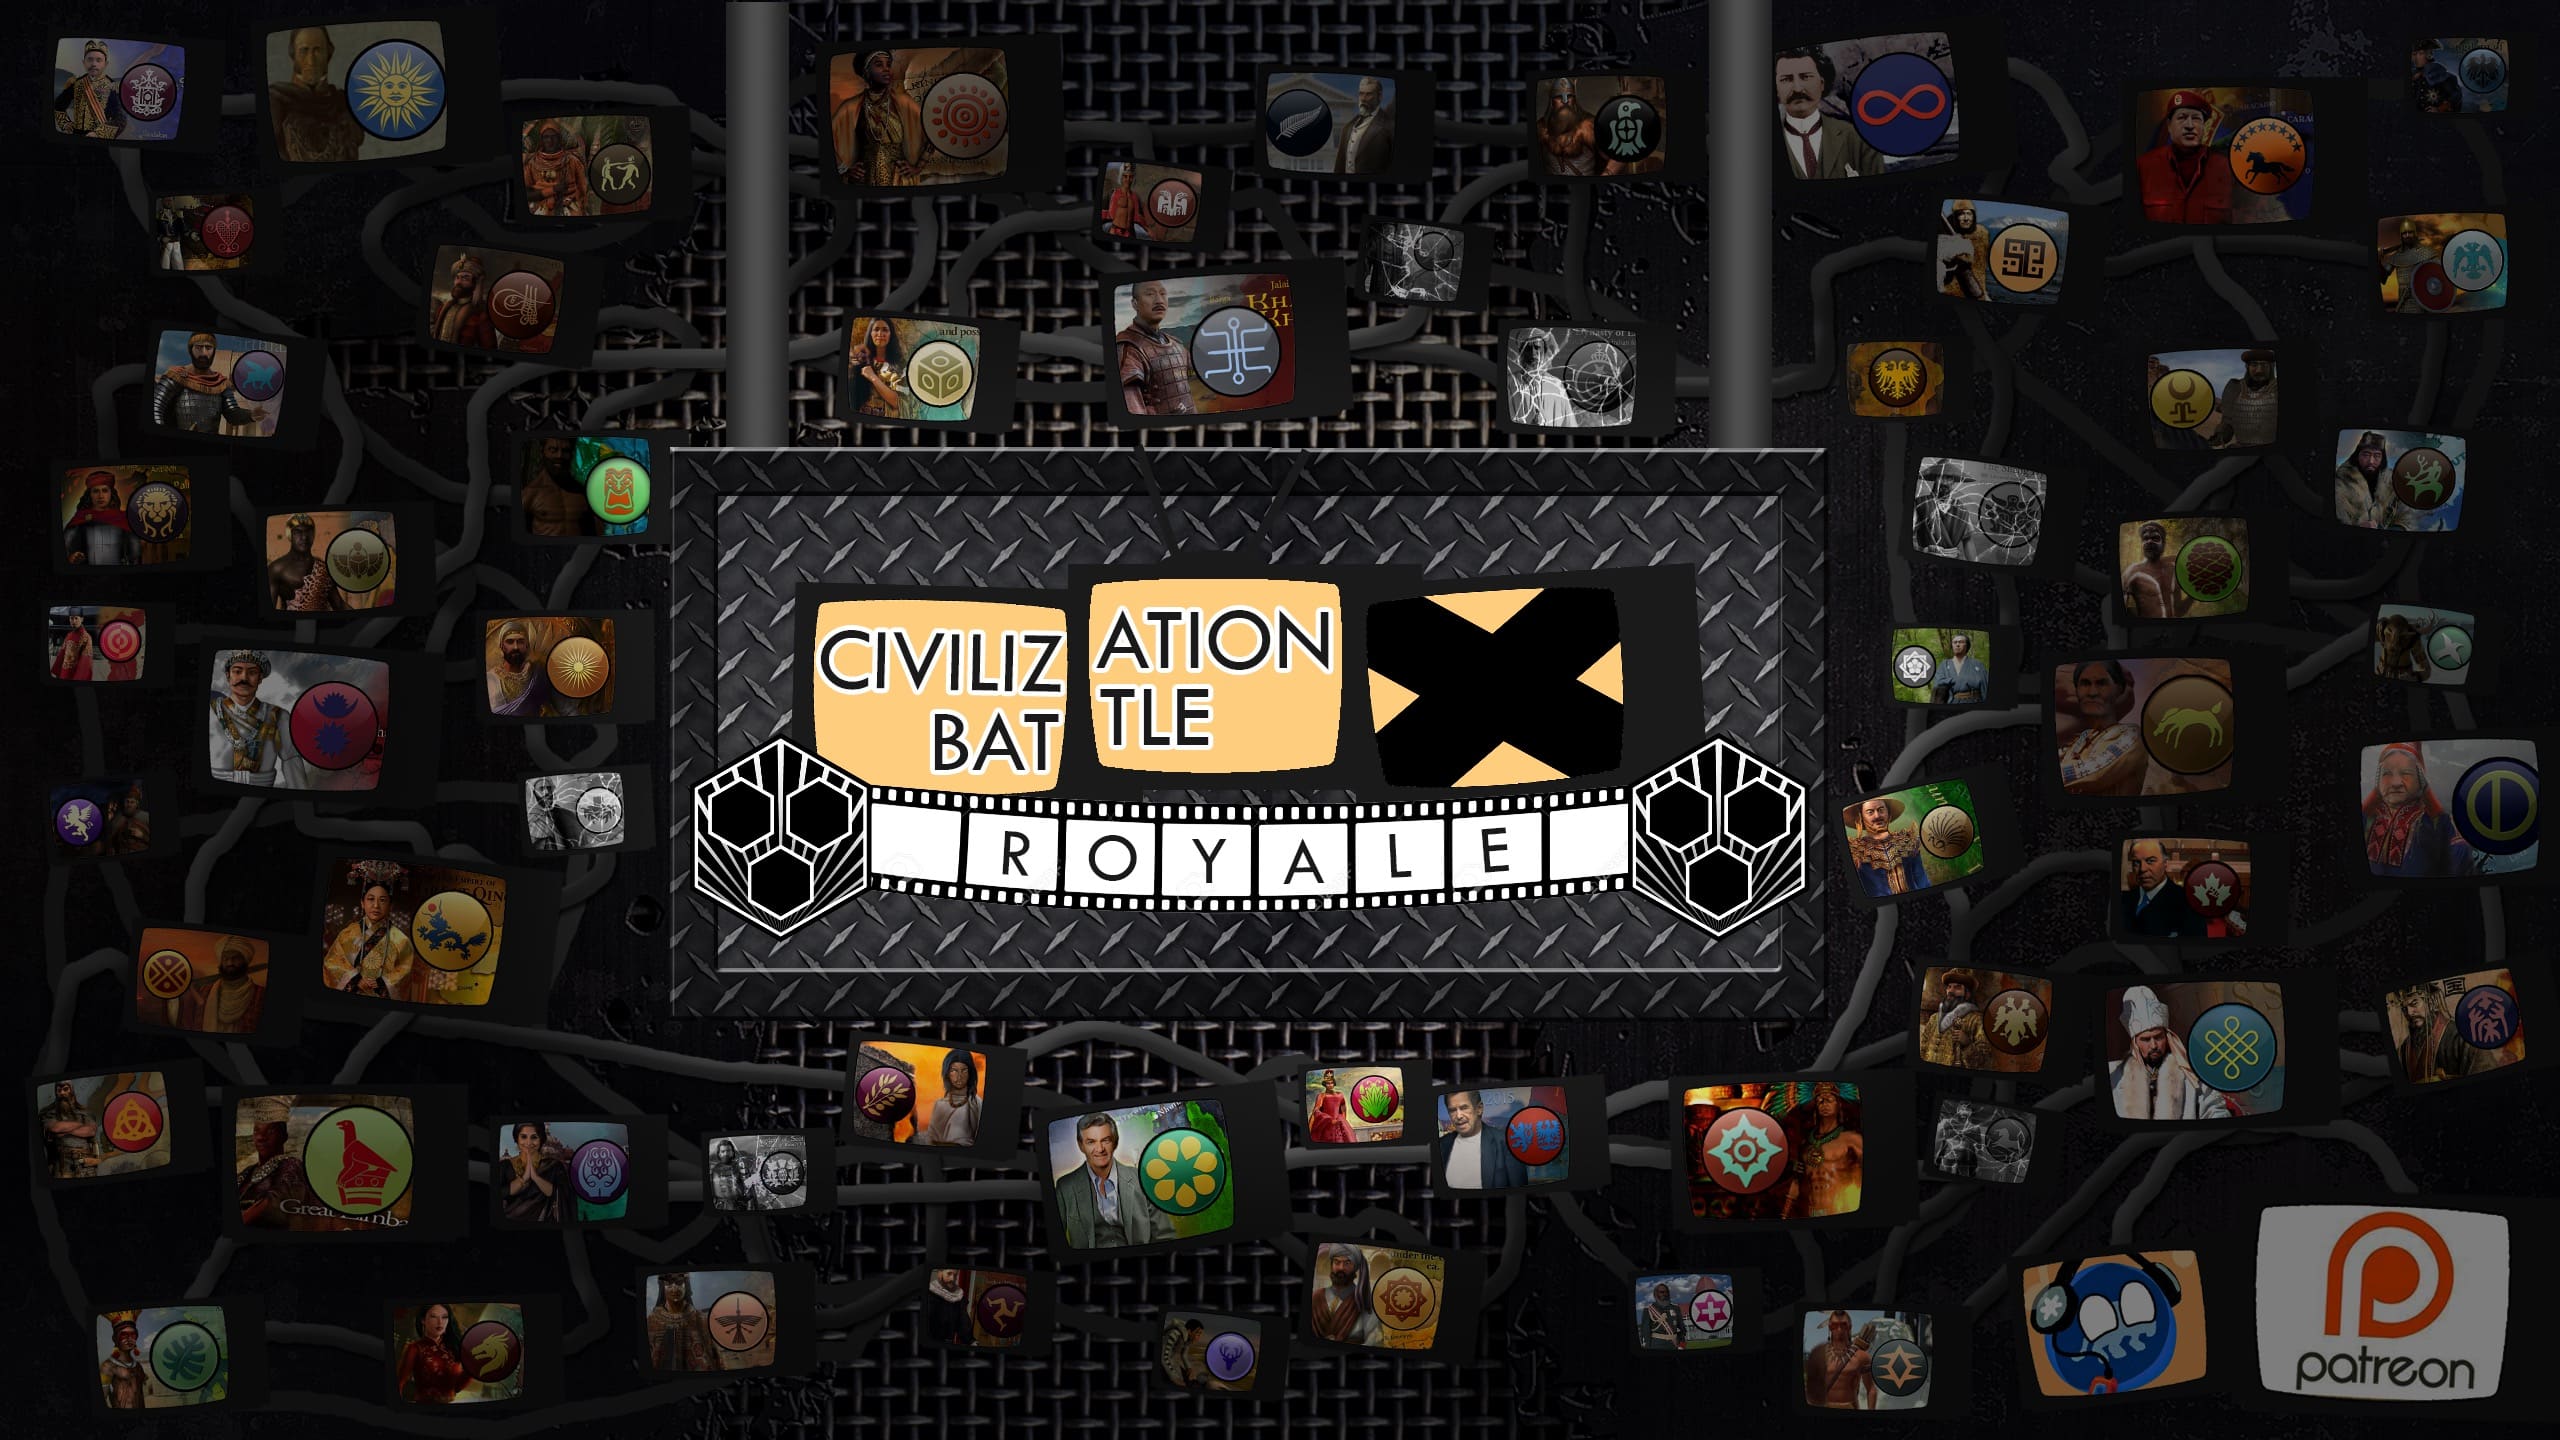
1: Guess Who’s Back? Back Again.

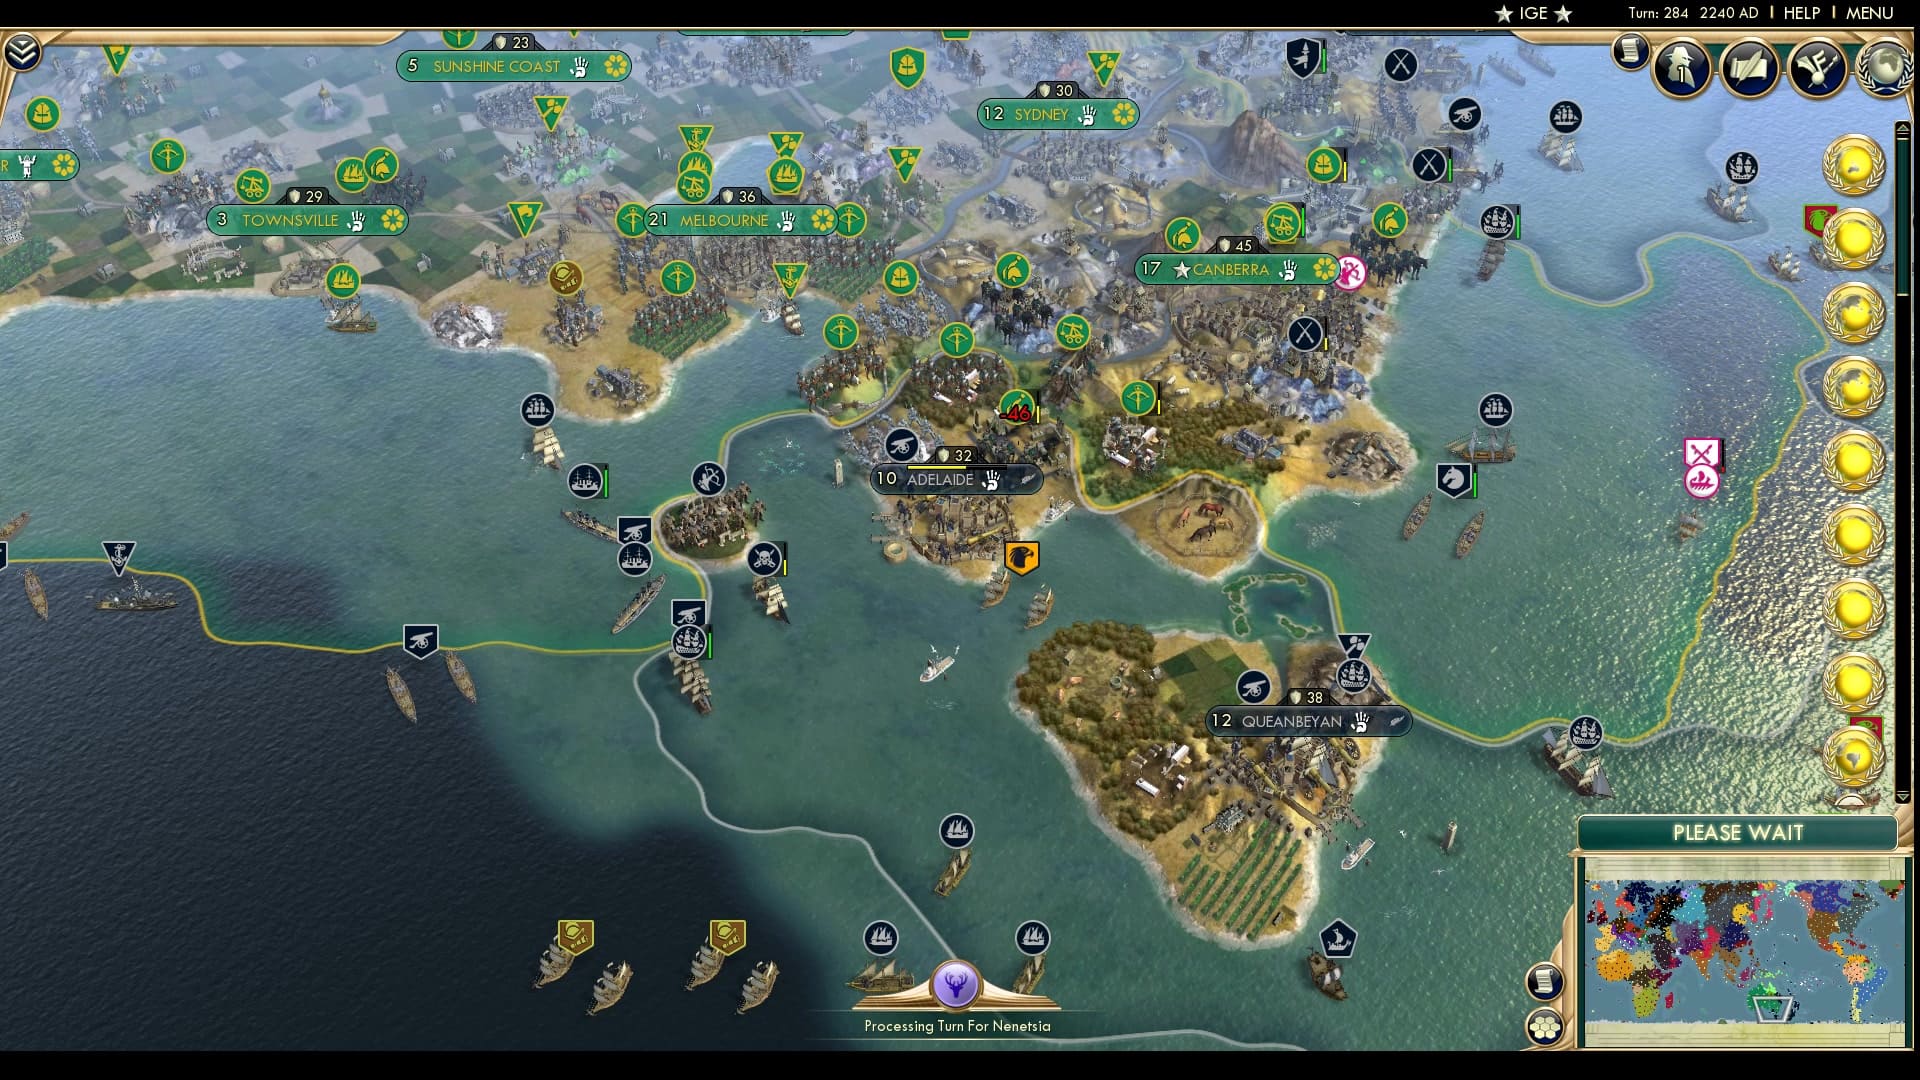
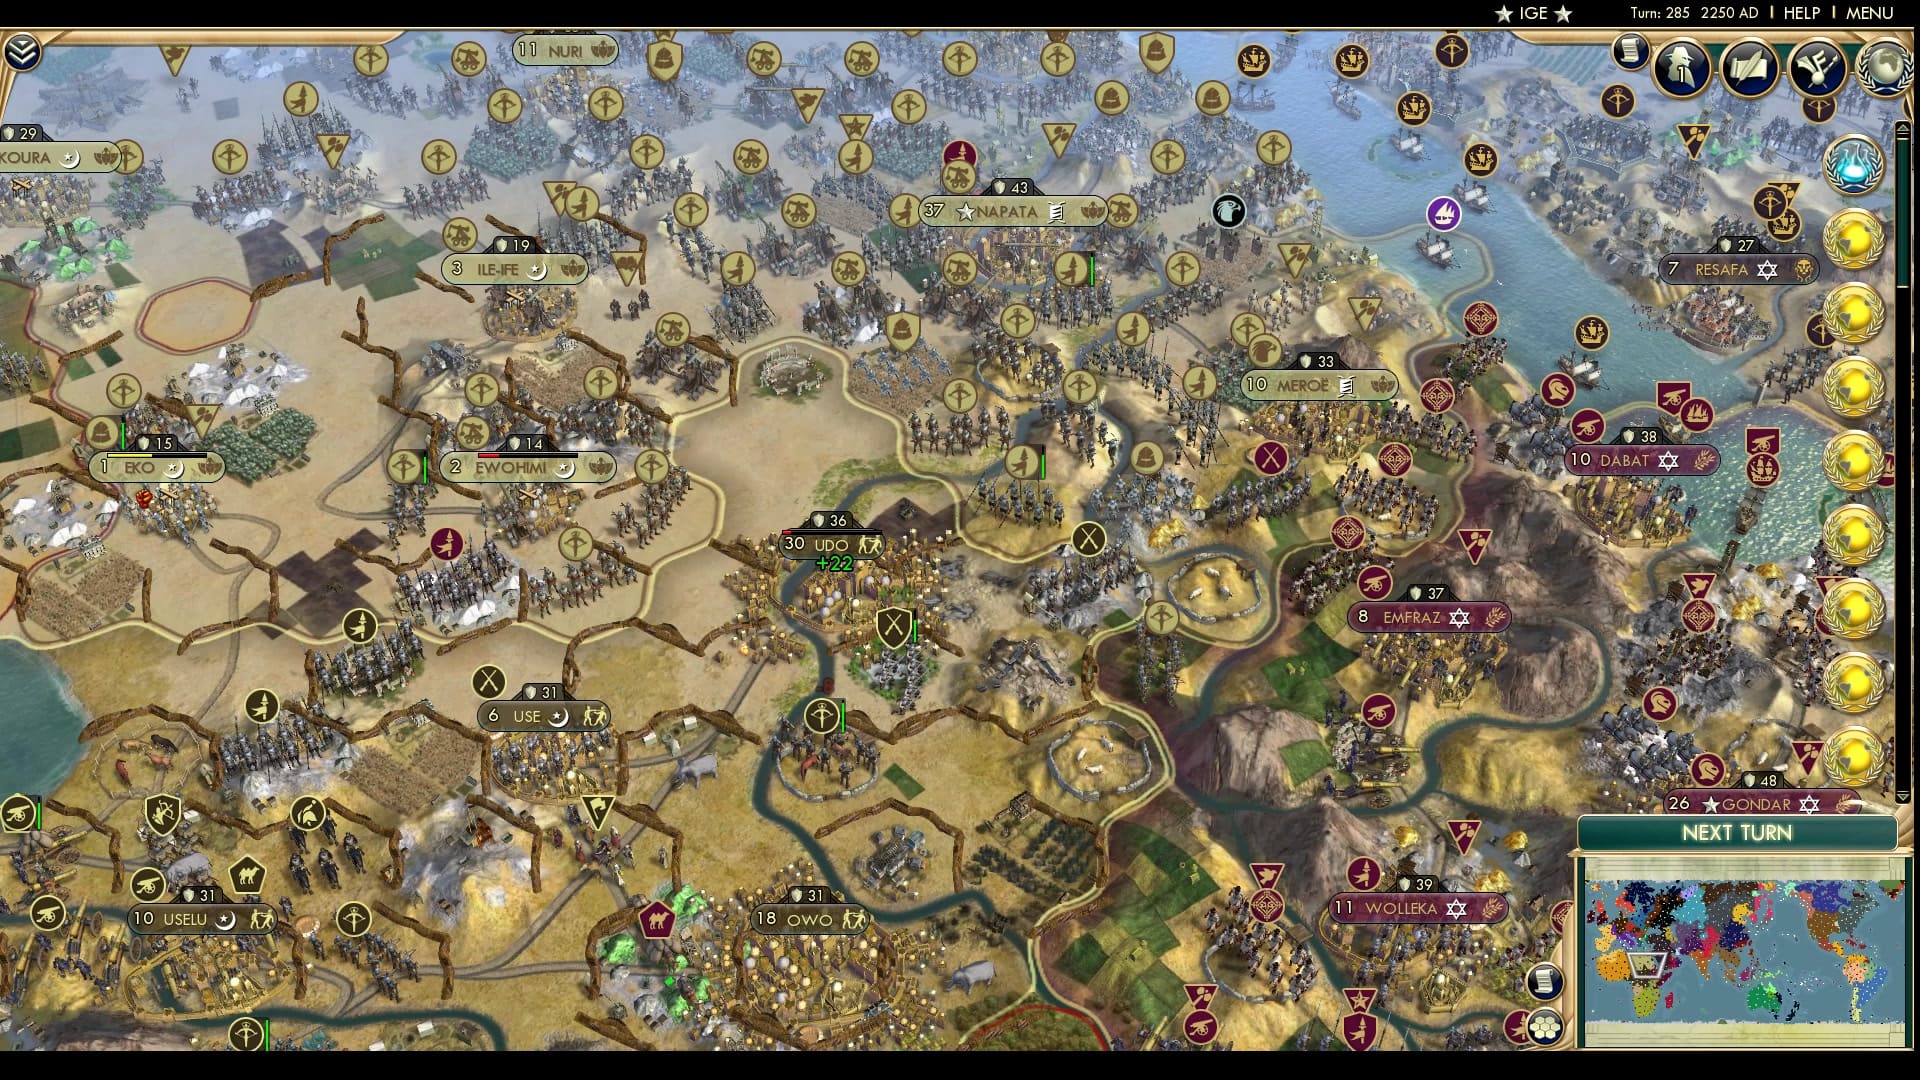
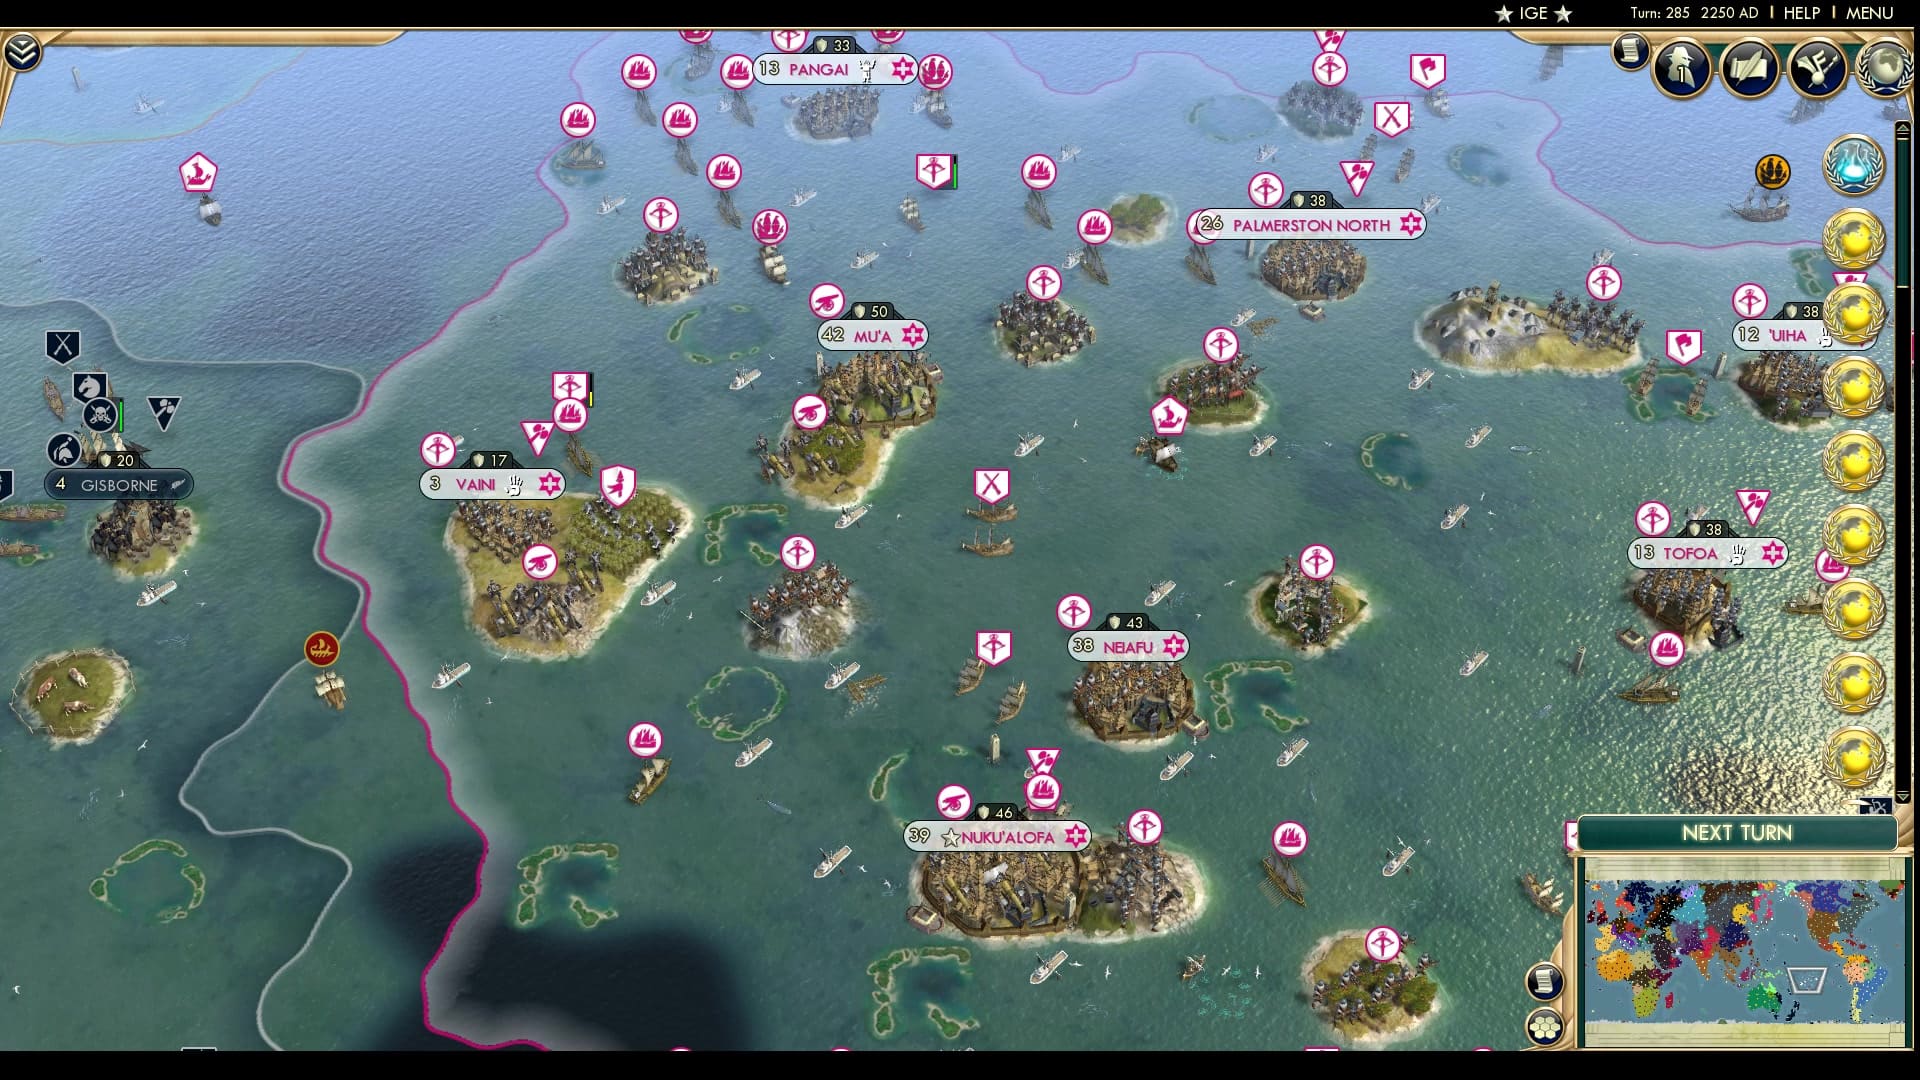
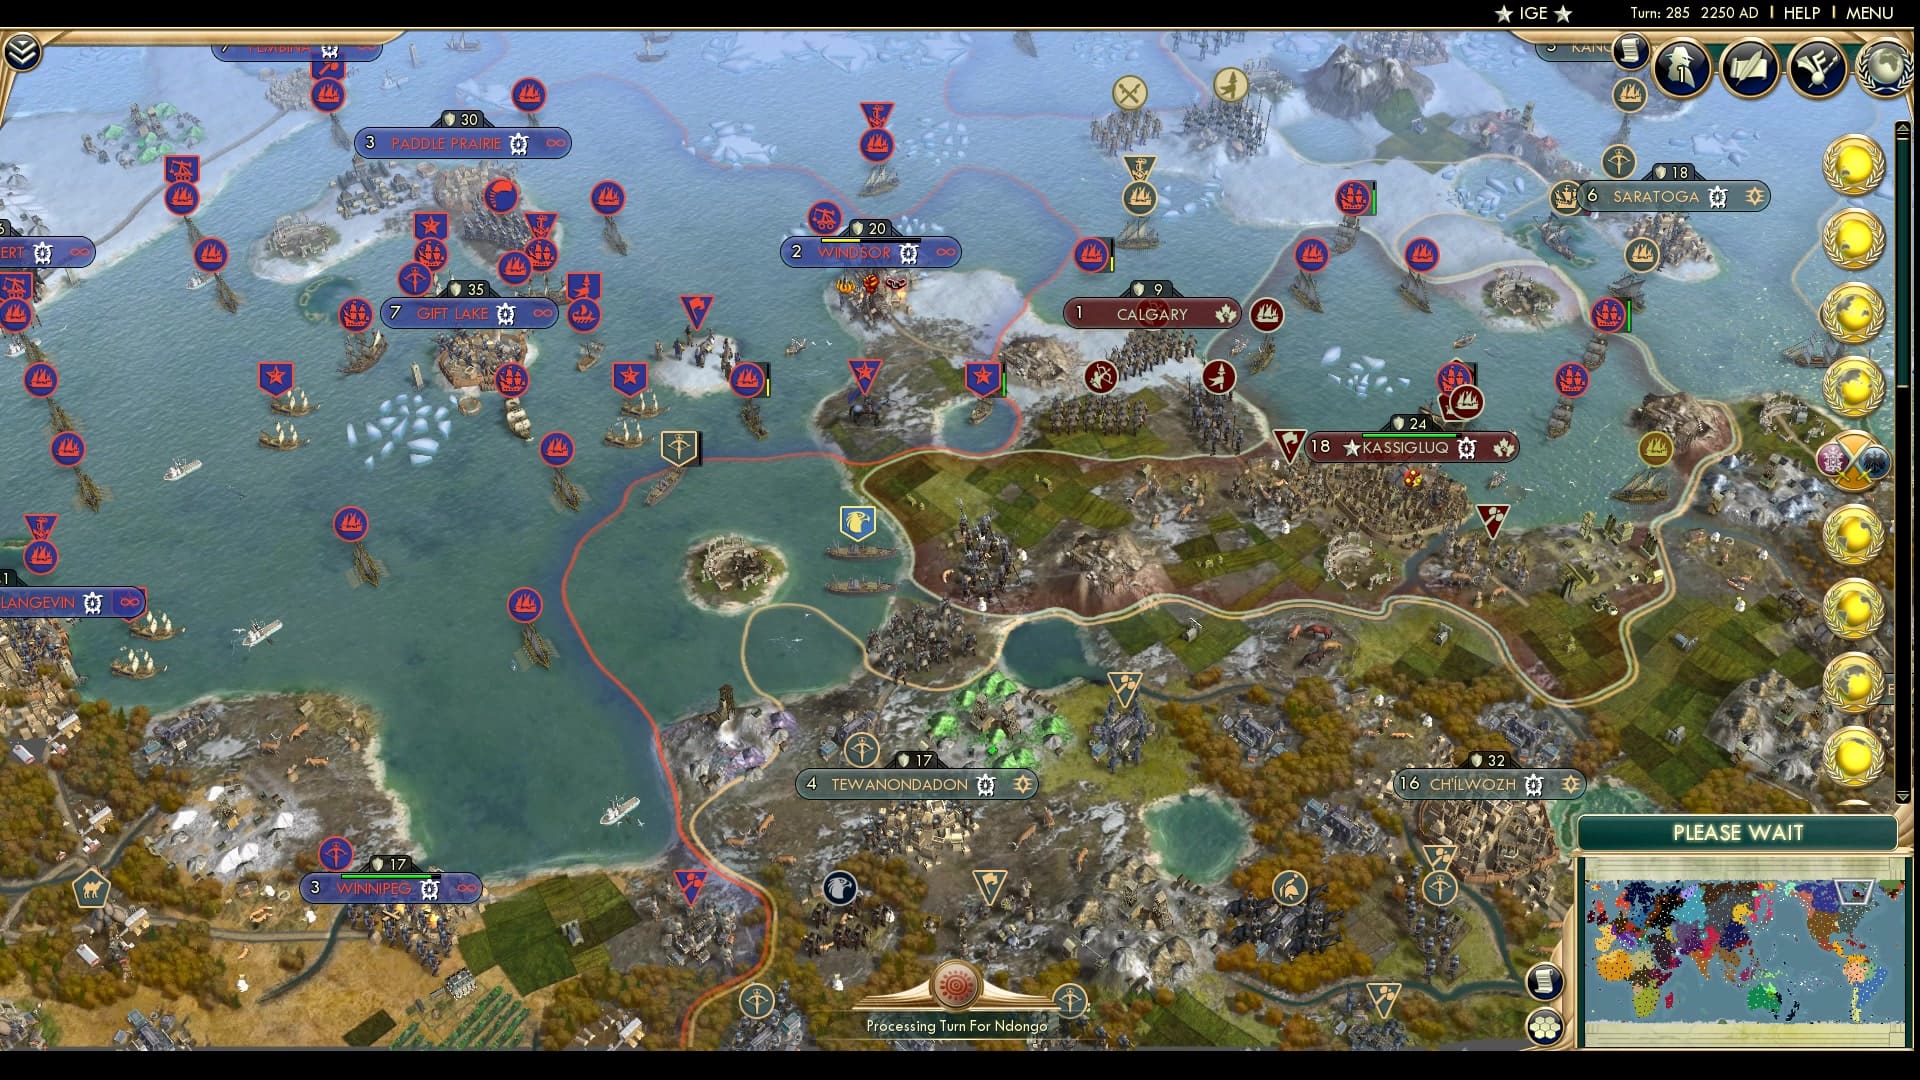
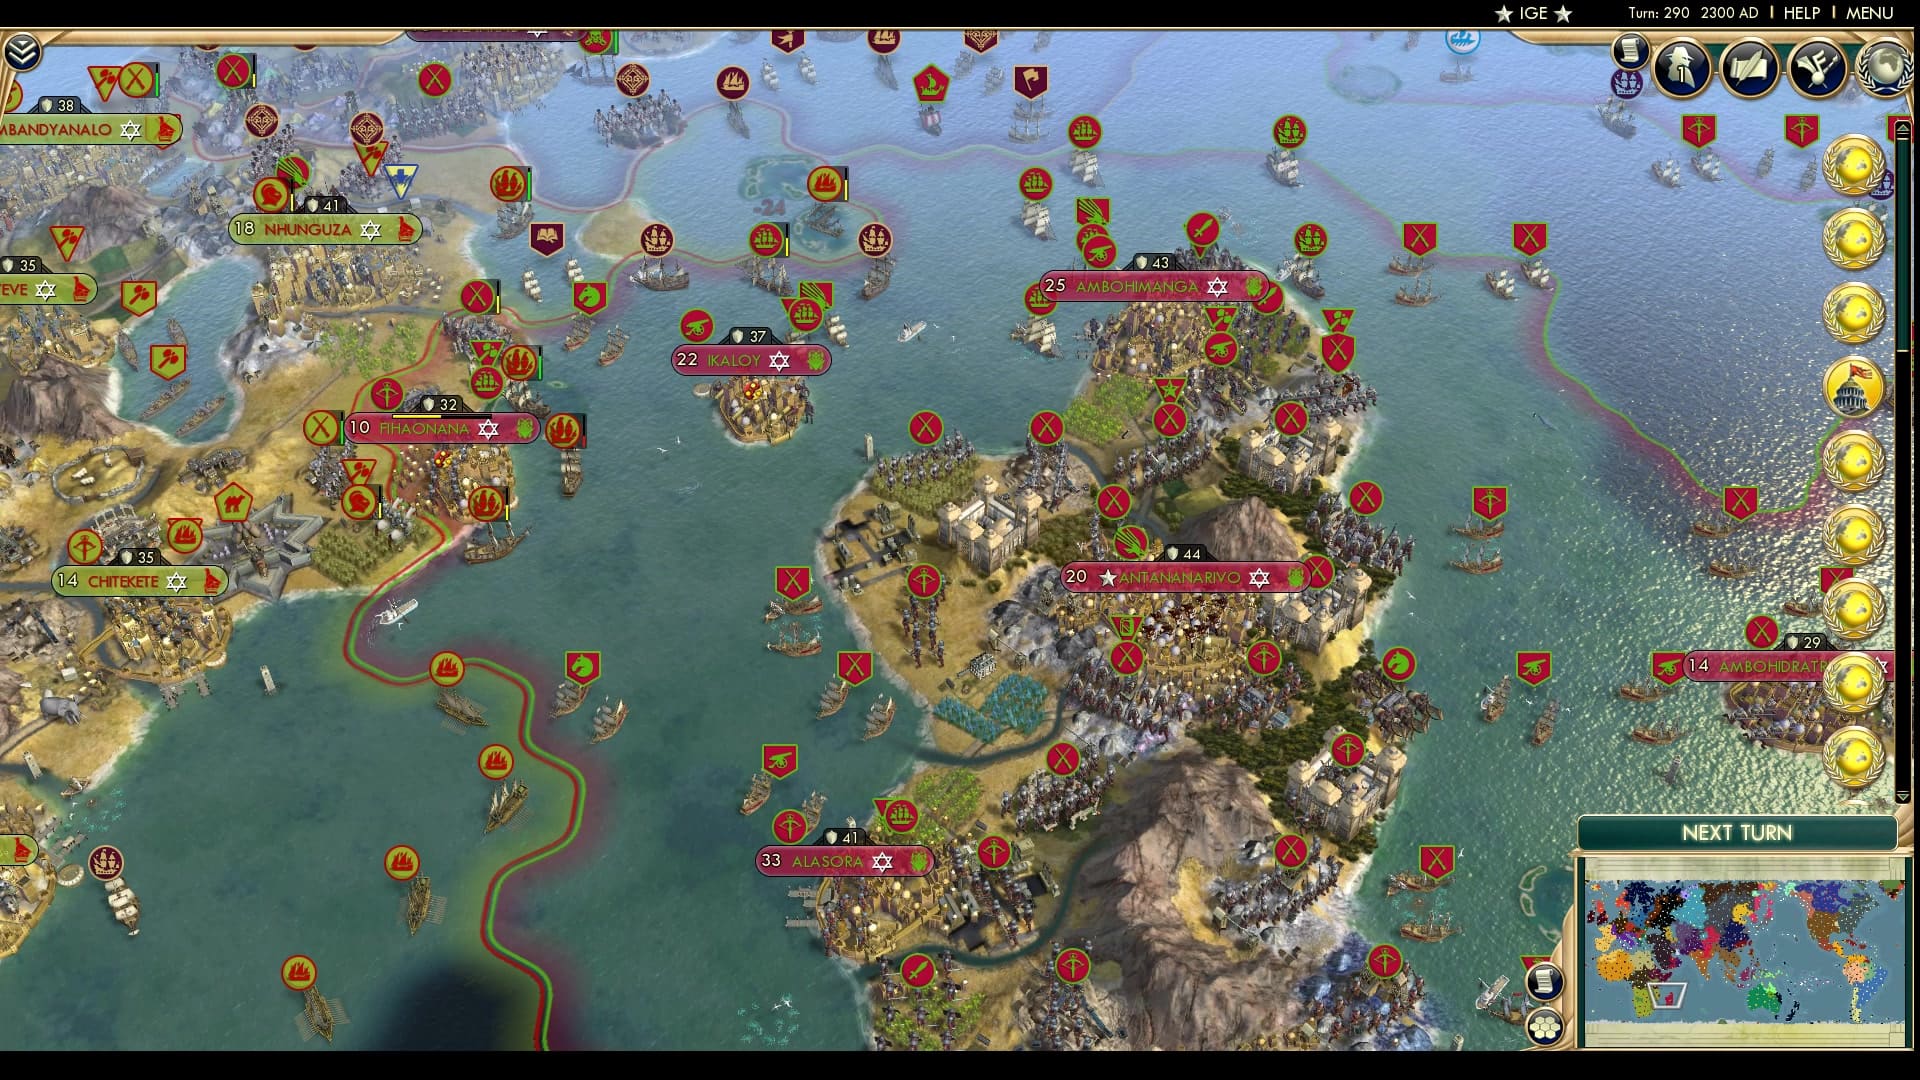
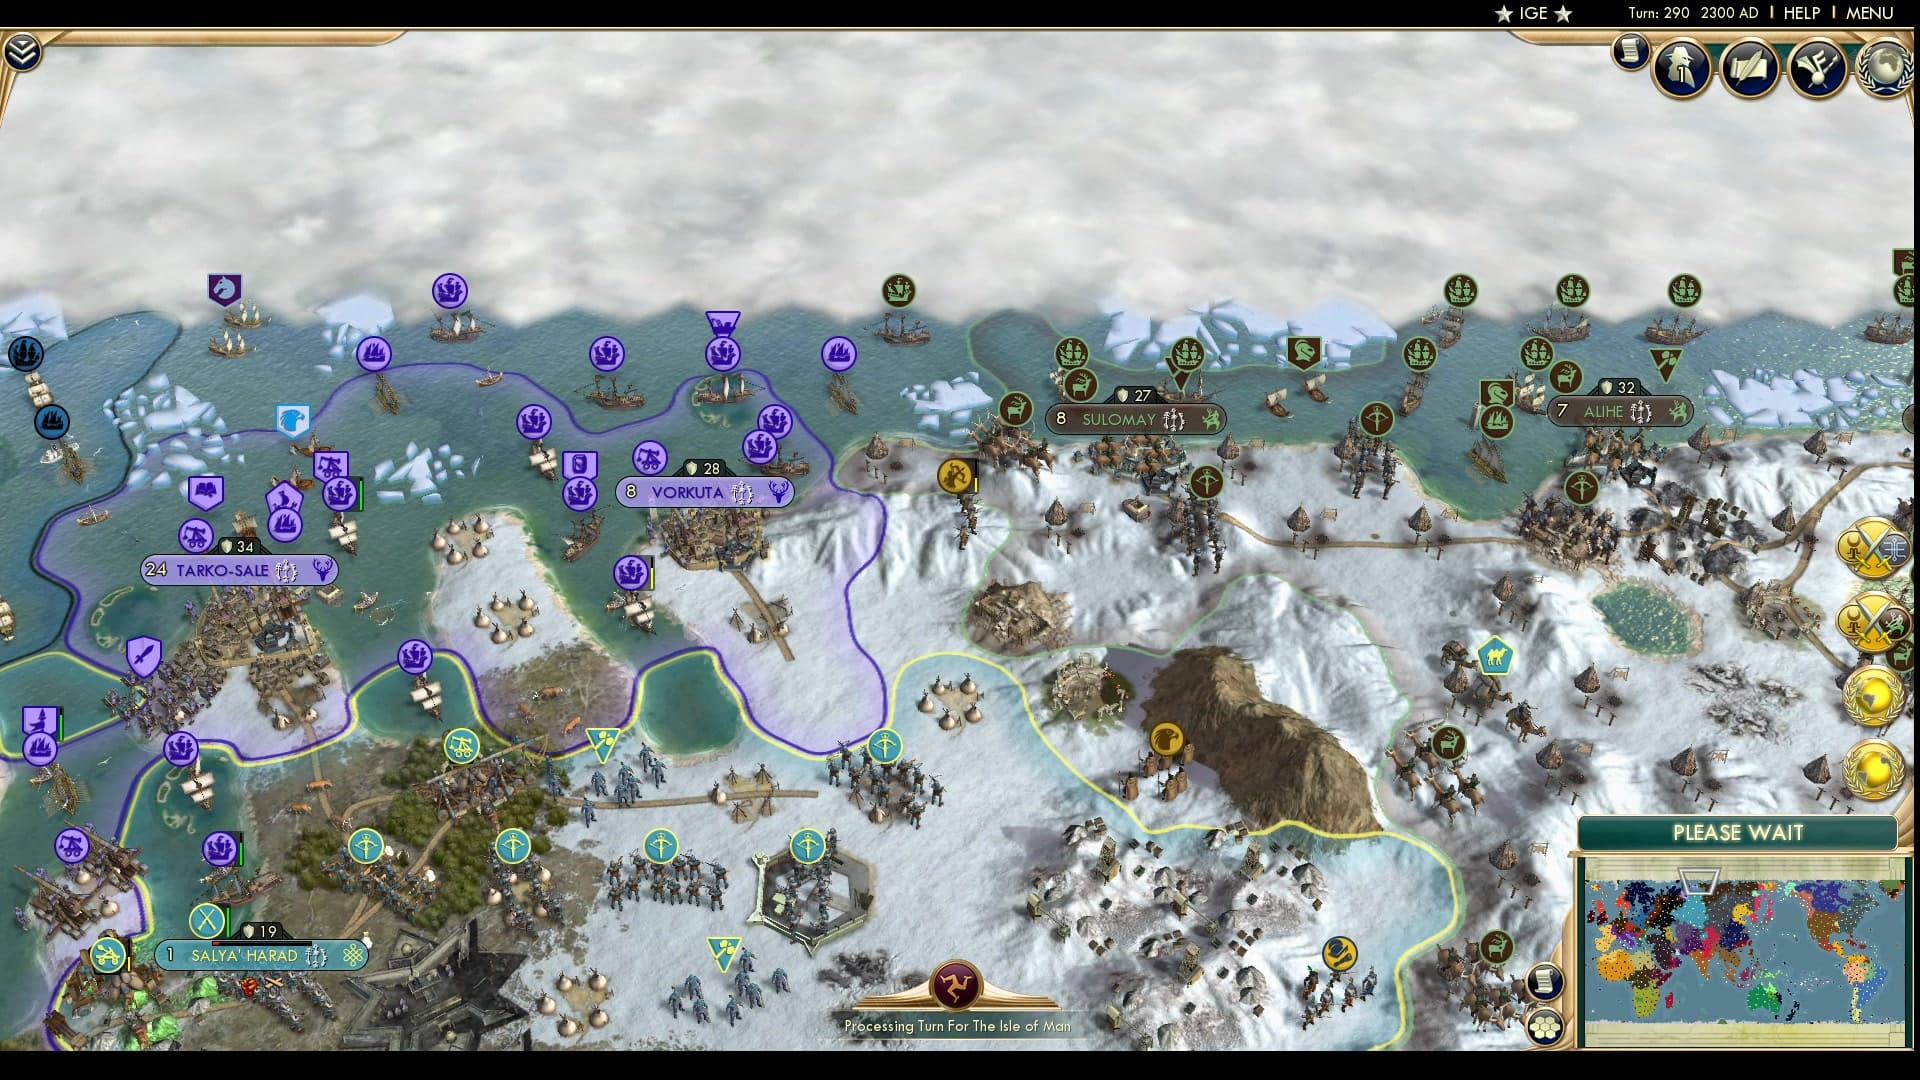
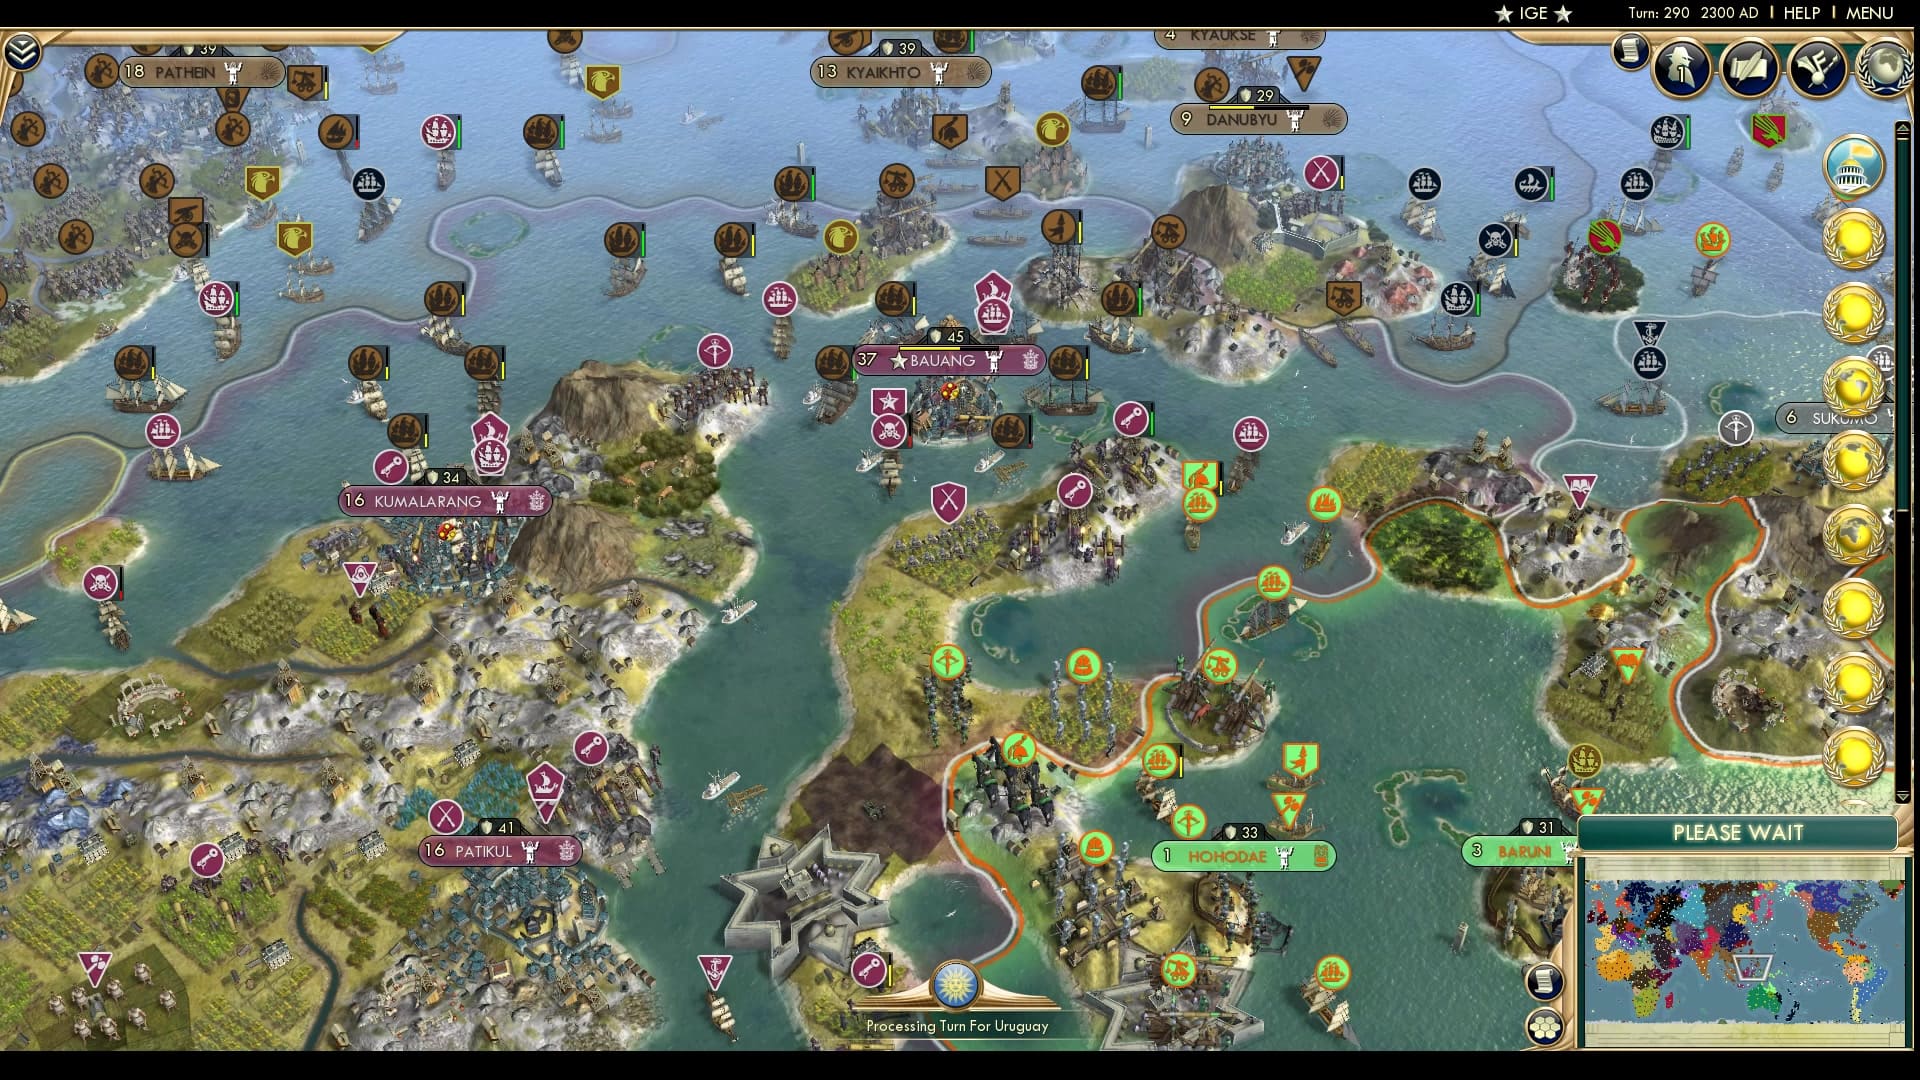
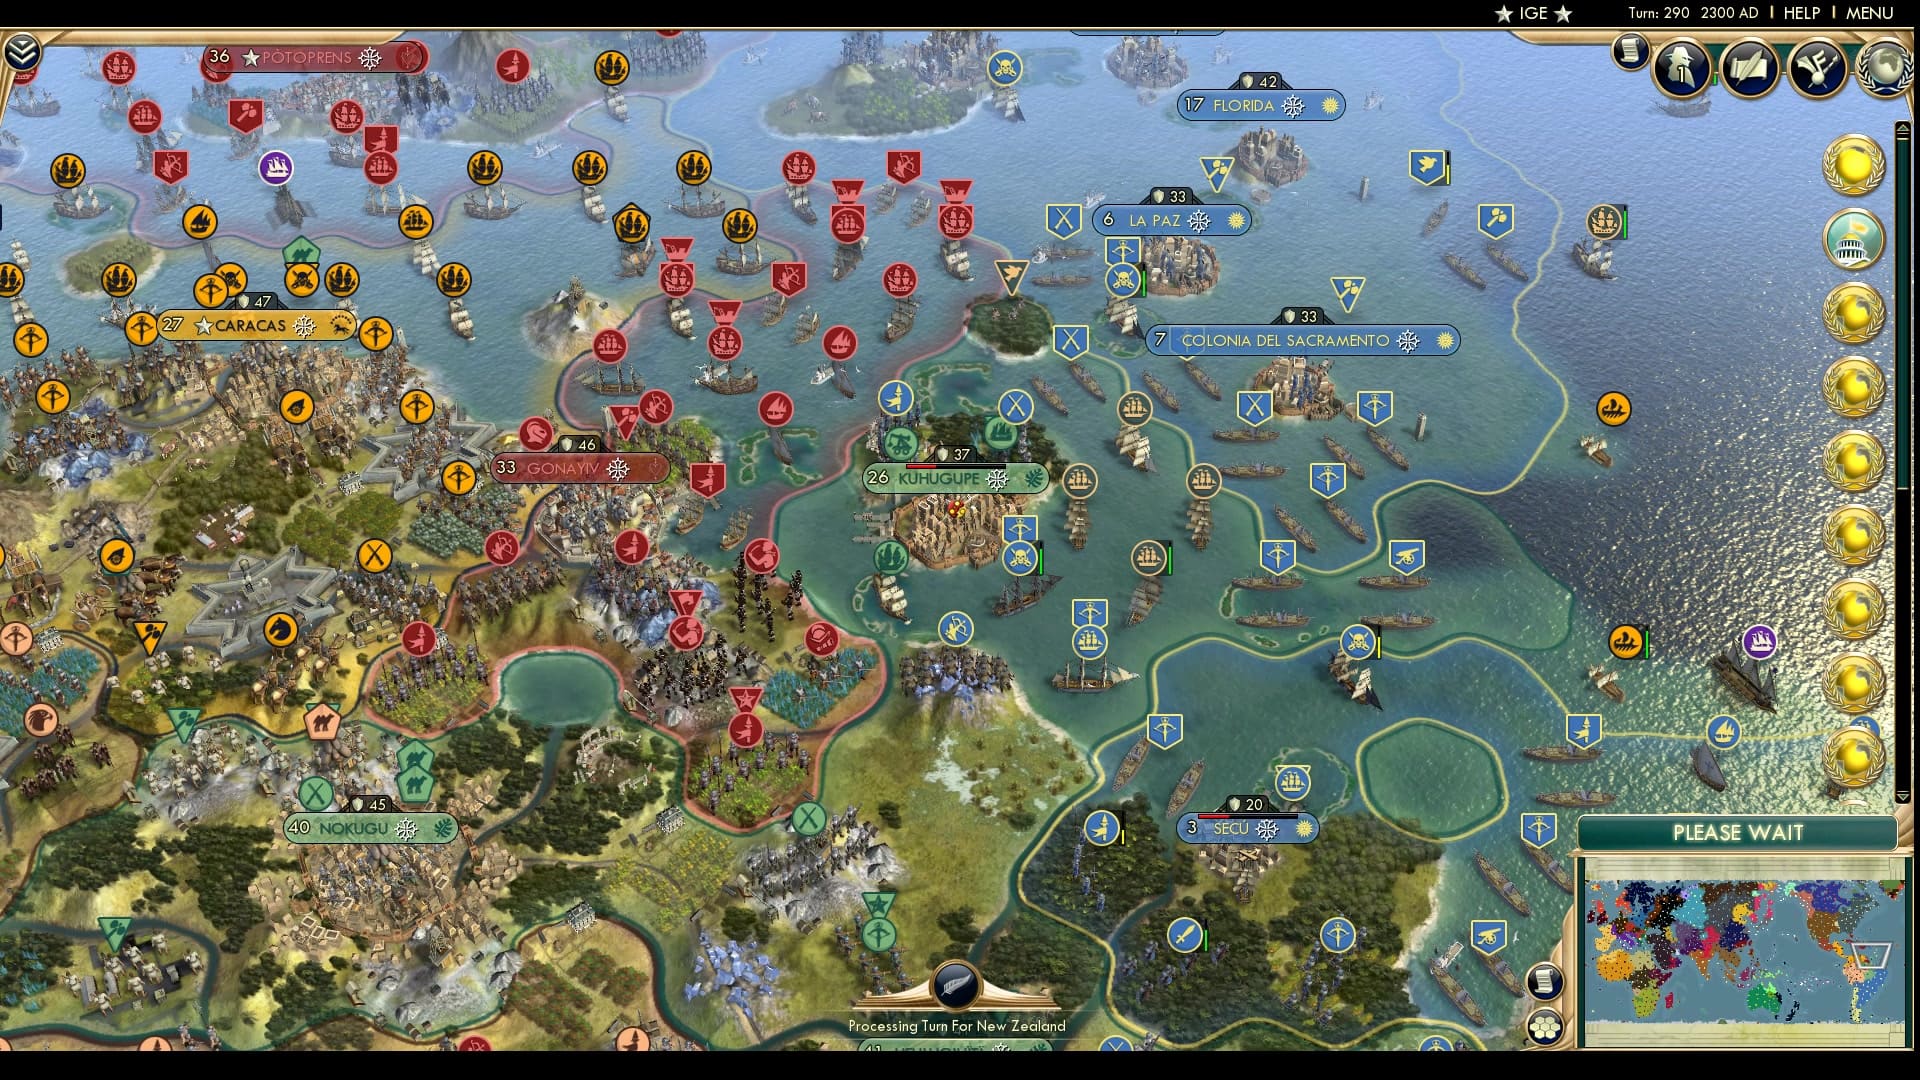
Welcome one and all to another episode of the Civilization Battle Royale! After a hiatus, 37 rebooted parts, another long hiatus, and another 18 parts, for a total time of just shy of three years to the day, this is u/X-Rok once again stepping in for a narration. It’s good to be back, let’s get into it.

Coiot: It really is three years since the last Mk 2.0 release.

CBR In-Game Screenshot of For Real

2: For Real

The real story coming into this week. The big southern African powerhouse everyone has been expecting finally woke up, how much damage will they do? I’m going to guess all of it. All the damage.

CBR In-Game Screenshot of Quick Draw

3: Quick Draw

Vihreaan’s Hand Drawn map with the quickness as usual.

The last free bits of snowy land are filling in at a rate that is finally overtaking the razing of cities, and a few nations with large areas of land have opted to increase their city density.

Keen eyes have noted that Secu was re-taken from the Kuikuro by Uruguay...

CBR In-Game Screenshot of SPORe

4: SPORe

Relevance is the name of the game, can you into it?

CBR In-Game Screenshot of Survey says?!

5: Survey says?!

We polled 100 people. Probably still Uruguay.

CBR In-Game Screenshot of The Civ Modders Monthly: Issue 11

6: The Civ Modders Monthly: Issue 11

JFD: In this eleventh issue, we take an extended and self-reflective look at some of the recent civ mods to have been released. Deliverator also embarks on his first part in a series aiming to look at the way in which the natural world is depicted in the civ series. And we speak with the modders that made the 12 Days of Africa about their experiences.

CBR In-Game Screenshot of Endangered Amphibians

7: Endangered Amphibians

We open with the Apache and Metis clash in the American midwest, Frog Lake being pillaged and surrounded. A strong complement of crossbows led by a healthy force of four Cuirassiers, the Enlightenment Era horseback unit, has already brought it to the yellow, and their chances look good.

The Metis make a push of their own into DzilthdaklizhΓ©ndΓ© making some noise, but it may not end well as Apache reinforcements in the area flank around them.

CBR In-Game Screenshot of Itsagaflippi

8: Itsagaflippi

On to the Kuikuro-Iroquois conflict in the Caribbean, where Itsagahiti has been decimated. Iroquois captured it since it was last seen last part, and Kuikuro recaptured it before the end of the part, leaving it undetected on the end of part maps. But this may be the final flip, as Kuikuro’s naval force is cut off, outnumbered, and outgunned.

CBR In-Game Screenshot of Benin Bounces Back?

9: Benin Bounces Back?

Ewuare’s troops retake Eko, a lone Cuirassier making its way into the city, and a couple Pikemen knock at the gates of Ewohimi. Piye seems unconcerned with the loss of these gains, focusing his few melee units in the region on the push on Udo.

CBR In-Game Screenshot of Salya’Hard Times

10: Salya’Hard Times

Finding that their colours look really good in the frozen north, the Kazakhs continue onwards, trying to make the Nenets not actually exist like the rumors say they don’t. Salya’Harad flips, from 20 to 10 to 5, and likely to 2 as the assault advances.

Ablai Khan also makes an interesting move, offering support in a coalition war with the Yup’ik against Korea.

CBR In-Game Screenshot of Kazakhxy Brain play

11: Kazakhxy Brain play

And by β€˜offering support’ I mean talking them right into a trap. Kazakh units will not be participating in this theater of war, the exclave of Naparyarraq is scarcely garrisoned and isolated, and the only route for Yup’ik units is a one tile gap between Haida territory that is also a one tile island, blocking naval support completely. A contingent of land units make their way through to the Korean borders, likely to be slaughtered.

CBR In-Game Screenshot of Burn It Down

12: Burn It Down

Calgary is captured and set ablaze again, although Canada will have one last chance later in the turn to save itΒ delay the inevitable. Louis Riel seems intent on burning down the last of these Canadian-founded cities, and certainly dedicated forces to this area to do it. We’ll see if he looks to finish the job afterwards.

An impromptu Scoutcon 2210 Hudson’s Bay breaks outΒ as a New Zealand scout has found his way through open borders with the Iroquois to witness this event, and bumps into a possibly trapped Kazakh scout.

CBR In-Game Screenshot of Tactical Retreat?

13: Tactical Retreat?

Prussia repairs what they can in Bergen and shuffles their navy around a bit, but with no new land units in sight it seems Frederick is prepared to loose their foothold across the sea. A navy can retake a city, but against the land army the Vikings are marching in, it will not hold, only further demolish the city.

Venice and Beta Israel join the dogpile on Ndongo, and Korea and Haiti declare on Papua? I don’t see any of them making it to Relevant status.

CBR In-Game Screenshot of The Battle for the Isle

14: The Battle for the Isle

Viking reinforcements make their way across the waters as the Manx Crossbow corps have Port Erin surrounded. It won’t be taken by land, but that embarked Knight can make it around the coast next turn.

Haida and Maratha join in on Papua, still not likely to be Relevant… but that does have Korea and Haida fighting on the same side, maybe that will have further repercussions for the Yup’ik.

Nubia and Ndongo also start up a coalition against Parthia...

CBR In-Game Screenshot of The Gothic Acquisition

15: The Gothic Acquisition

And I think I know who rounded up the irrelevant supporters. Taungoo declares on Parthia as well, followed by the nation seeking to do most of the conquering here, the Goths. Parthia’s core is depleted from fighting in the mountains to the south for hundreds of years, and Alaric wishes to ride in those northern fields and fertile desert flood plains. The troops aren’t on the front lines yet, but heavy reserves in the north and a much stronger production base should see the units draped in black charging in soon.

CBR In-Game Screenshot of Punching Up

16: Punching Up

The Sulu declare on Australia, trying to take advantage of their more powerful navy in the region. Though the Power Rankings gap is vast, this war is somewhat evenly matched… for now. Tech counts are even, and overall military is fairly even, but Sulu is densely packed and fielding Privateers while Australia is spread thin across the empire. So while they hold the advantage for now on the push for these islands, Whyalla already in the yellow, Australia’s more-than-double production will turn things around in due time.

CBR In-Game Screenshot of I’ll take you both on.

17: I’ll take you both on.

The puppet master is revealed, as Seddon declares war on both of his most threatening neighbors, Australia and Papua. Likely responsible for dragging the Irrelevant Coalition into the Papua war, the Moors also join in. Seeing as it’s only Sulu and New Zealand against Australia, that could have been suggested by either party, but is mutually beneficial anyway, attacking the Aussie Empire from both sides. However, picking both fights at the same time may be too much on one plate.

Madagascar joins the Parthia warwagon...

CBR In-Game Screenshot of Deserted Desert

18: Deserted Desert

As do the Kazakhs. Sharing borders, they too could make gains like the Goths in this region, if they can divert some forces from erasing the Nenets. We’ll have to see who gets units to the area first.

CBR In-Game Screenshot of The Moops

19: The Moops

A nice carpet in the Moors core, though north Africa is still looking a little sparse.

Korea and Shikoku make peace.

CBR In-Game Screenshot of Border Skirmish

20: Border Skirmish

Frog Lake remains in the yellow, DzilthdaklizhΓ©ndΓ© recovers, and Cut Knife gets scratched by a wave of advancing Apache ranged units. This front is going to be a bloody grind.

CBR In-Game Screenshot of Bergen Time

21: Bergen Time

The Vikings take Bergen, and Prussia bombards the city to the black. Unfortunately, as we all know surrounding cities with ranged units like Galleasses? Galleaii? makes it rather difficult to capture, even with melee Galleons in range.

CBR In-Game Screenshot of ReJelleration

22: ReJelleration

The Manx and Vikings skirmish in the north seas, as Jelling is founded once again after being razed last part.

Poor Czech Scout, trapped in an unclaimed border bubble.

CBR In-Game Screenshot of Privateer Party

23: Privateer Party

The Sulu press onwards, Whyalla down to red and Newcastle down a quarter. Minimal Aussie reinforcements thus far.

CBR In-Game Screenshot of Peacekeeper No More

24: Peacekeeper No More

Madagascar’s joining of the coalition is not irrelevant, as their supposed β€˜peacekeepers’ around Nizwa go hostile and chip away at the city. Were it not for Palmyra also playing peacekeeper and taking up space, this would be much more swift. But no, the populace will suffer for another turn or two before over half of them are wiped out.

CBR In-Game Screenshot of Peace Out

25: Peace Out

The Manx get some relief as peace is brokered with the HRE, allowing them to focus on the Vikings. Port Erin still stands under the orange banner, though melee units are on approach.

Tonga and Uruguay, and the Golden Horde and Parthia also make peace.

CBR In-Game Screenshot of Rev up the meatgrinder

26: Rev up the meatgrinder

The Goths reach the front, but Parthia has summoned up a defense of mostly Crossbowmen only a step behind. Kazakh units trickle in from the north as they peace out a couple irrelevant wars with Palmyra and Nepal.

Over in North America, the Metis city of Frog Lake falls to the Apache.

CBR In-Game Screenshot of Goth Backdoor Squad: Operation FADO

27: Goth Backdoor Squad: Operation FADO

The Goths also get a division through the open borders with Muscovy, and begin to threaten Frankfurt An Der Oder.

Nizhny Novgorod is also the site of a large clash with Sami forces, which could go either way.

CBR In-Game Screenshot of Shook

28: Shook

Nepal didn’t see that war as irrelevant, and give up a city in their Kazakh peace deal. If Ablai can get that production under control or get some troops over to the new exclave of Patan, it could serve as a great flanking base in an eventual war with the Khamug Khanate.

CBR In-Game Screenshot of Masangone-o.

29: Masangone-o.

Masangano falls, pushing Ndongo further out of southern Africa, and a bunch of civilian units escape into the ocean. Next up for Zimbabwe, the capital, Kabasa.

CBR In-Game Screenshot of Quiet Jungle

30: Quiet Jungle

Uruguay still can’t make progress outside of coastal Secu, which the Kuikuro push back on and bring it to the red.

CBR In-Game Screenshot of Eviction Notice

31: Eviction Notice

Nubia peaces out with Benin, freeing them up to redirect forces to the south into Ndongo, surrounding Kavanga and bringing the walls down. Nzinga’s core is crumbling, and she may be kicked off the mainland soon.

CBR In-Game Screenshot of An Exclave in either hand.

32: An Exclave in either hand.

Two turns later, and the Parthian exclave of Nizwa falls as predicted. Madagascar’s foothold on the mainland grows, and with no more opposition in the area now is the time to eye a new target, keep the momentum going. India’s new holdings on the horn look sparse for now, but a land army makes their way across the sea from their core. Who will strike first?

CBR In-Game Screenshot of You Were Not Prepared

33: You Were Not Prepared

New Zealand’s double war sets off on a misstep, as their recently integrated capture of Adelaide looks set to fall back to its original owners.

CBR In-Game Screenshot of A Key Defense

34: A Key Defense

A look at the now-at-peace Nubia-Benin borders show Nubia managed to retake Eko and barely held Ewohimi while Benin successfully defends Udo, protecting a major production center from crumbling and preserving their future opportunities.

CBR In-Game Screenshot of Tongan Tropics

35: Tongan Tropics

The Tongan core is looking a little empty, and all that water doesn’t provide much production to pump out units, but their military strength is quite high for their low Power Ranking.Β We’ve seen some rather large navy groups roaming about early last part, and with peace made with Uruguay a couple turns ago, I believe their sole remaining war is with the Sulu, likely sending that navy north around Papua.

CBR In-Game Screenshot of Let Them In

36: Let Them In

Shikoku makes real progress since we last saw them, landing a significant army, thanks in part to open borders with the Qin, and with cannons set up Hangzhou is in very real danger of being flipped. The Qing navy lying in wait can easily retake it, but allowing cities to be decimated is not a winning strategy.

CBR In-Game Screenshot of Not So Long Live The King

37: Not So Long Live The King

I’m honestly not sure what we’re seeing here, but I believe this is Calgary being founded anew upon its ashes, by that settler two tiles away that has appeared to have not moved yet, judging by the borders not appearing yet. The last of the Canadian army dissipates under Metis assault, and Windsor has almost finished burning, but WLMK refuses to give up… I don’t know what he expected from declaring this war.

CBR In-Game Screenshot of Bergen Flipper

38: Bergen Flipper

The Vikings and Prussia have been playing hot potato with Bergen and it is reduced to a minimal population, but it appears Prussia may hold the territory as the remaining Viking melee units are scarce and several turns away.

CBR In-Game Screenshot of Take Two

39: Take Two

Sulu’s northern Australia campaign starts well, taking both Whyalla and Newcastle and running the Australian navy off. Taungoo thinks they have an opening and strike at Sulu with the meager forces stationed in their exclave of Bhamo, I believe those are Galleons and Ships of the Line unleashing upon the ports of Dungun and Geelong. Jamalul has enough Privateers nearby that this attack should be repelled, but we may see a city flip.

CBR In-Game Screenshot of The Walls Are Closing In

40: The Walls Are Closing In

The Benin Advance continues. Kavanga falls and is set ablaze, and a small naval regiment softens up the offshore Mpungo A Ndongo, suggesting to Nzinga that she maybe seek her exile in one of her further-flung colonies.

CBR In-Game Screenshot of Defend The North

41: Defend The North

Parthia summons a defensive force to fight its northern aggressors, but are far too late to save Zadracarta, surrounded by Kazakhs and in the yellow.

The fertile fields around Turkistan in the peaceful Kazakh core have allowed it to blossom to a massive 42 population.

CBR In-Game Screenshot of Something Will Happen Evenktually

42: Something Will Happen Evenktually

The Evenks core and Khamug border. Both sides are a little light on melee units here, I count 7 Evenks to the Khanate’s 8, but several of those Evenks melee units are in the back lines. If war did break out here it would likely be a bloody ranged war with few city captures.

Looks like Taungoo brought some irrelevant friends to the Sulu war.

CBR In-Game Screenshot of Papuanut Brain play

43: Papuanut Brain play

I guess Rajapapua really wanted those north aussie islands, because despite being engaged with New Zealand to the east, Papua joins Taungoo in this fight with a slightly technologically superior and manpower-ready Sulu to the west. This may be a critical overextension that has significant repercussions.

CBR In-Game Screenshot of No Chance

44: No Chance

Well so much for an Antarctic colony escape for Nzinga, as Uruguay makes quick work of the tiny islands. Despite the losses, Nzinga can have a moment of respite as she begs for mercy from Benin and gets it.

CBR In-Game Screenshot of Bhamo Battalion Burnout

45: Bhamo Battalion Burnout

Geelong has flipped, and Dungun may do the same, but the Bhamo Battalion is running out of steam and will not make any permanent gains. Damage has been done, but now the question is can they hold on to Bhamo itself.

To the north we see some of the fighting along the border to the Taungoo mainland, where Sulu forces hold strong for now. Taungoo appears to be in the process of upgrading their Trebuchets to Cannons, while Sulu already field their UU Cannon, the Lantaka, en masse.

CBR In-Game Screenshot of Papua Panic!

46: Papua Panic!

Northeastern Papua is under heavy assault, not just from New Zealand from both the north and south, but determined to prove they can be relevant, Haida sends a navy contingent across the ocean, threatening both Vabukori and Elevala. Seddon’s push from the south has almost surrounded Boera and looks like it will succeed.

The sharpest of eyes and memory will notice that the Iroquois have founded a city of their own on the island two tiles east of Itsagahiti, which now used to have a Holy Site on it.

CBR In-Game Screenshot of Beige Becomes Green

47: Beige Becomes Green

Zimbabwe advances. Kabasa crumbles. I see seven Ndongo melee units left, and as they die so do Nzinga’s chances of surviving. The Antarctic colonies are gone, will Uruguay come try to get an African foothold?

Songhai also joins the Parthian Irrelevant Coalition.

CBR In-Game Screenshot of Let Them Out

48: Let Them Out

The Qing repel the Shikoku forces, and a capture of Hangzhou is now in doubt, despite the city being at 0 hp. The embarked Musketmen could land, but being unfortified in open terrain at two-thirds health, would likely be dead before they could act next turn. Will Cixi push back?

CBR In-Game Screenshot of The End Is Near

49: The End Is Near

Windsor is gone. Calgary is captured and burning again. Kassigluq is at half health with three Metis ships surrounding it. Prime your Fs.

CBR In-Game Screenshot of Cruisin’ Pa Pu A

50: Cruisin’ Pa Pu A

On the southern Papua front, we see Boera taking another hit, and the mainland coastal city of Darwin also takes damage. Papua’s navy appears to be mostly Frigates, so that lack of melee ships may be an issue if anything flips. Y’know, aside from the loss of millions of lives from these massive cities.

New Zealand shows what is I believe the cylinder’s first Cruiser in the bottom center of this slide.

CBR In-Game Screenshot of Last Stand

51: Last Stand

Kabasa falls, and Nzinga retreats to Kindonga. Two Rowzi Warriors, Zimbabwe’s Pikeman UU, stand near death on the front lines, ready to die to make it so the entire Ndongo population is wiped out.

CBR In-Game Screenshot of ZadraKazakh

52: ZadraKazakh

Zadracarta is taken by the Kazakhs, but Parthia’s defenders have managed to prevent damage to other front line cities so far. Rhages specifically is a surprise, but the hills surrounding the city protect it from the Goth Crossbowmen on flat terrain behind it.

CBR In-Game Screenshot of Uruguay South

53: Uruguay South

A shot confirming the capture of the Ndondo Antarctic colonies, the Uruguayan ships settling in to repair and defend the new territory.

A keen eye on the minimap will see Adelaide has returned to Australia.

CBR In-Game Screenshot of Mmm… Caribbean Rum

54: Mmm… Caribbean Rum

Toussaint must be hitting the rum, β€˜cause he must think he’s Captain Morgan.

Not with a two ship assault, you’re not.

CBR In-Game Screenshot of Punch Drunking Up

55: Punch Drunking Up

Oh. It was a distraction. For an equally drunk declaration of war. Yeah, the western Zimbabwe core is a little sparse with all the fighting in the east, but Ranavalona forgot to move troops to the front before declaring war. So that advantage is gone. And that’s all you had.

A notification indicates Ndongo managed to retake their capital...

CBR In-Game Screenshot of Free Lands

56: Free Lands

But not for long as Zimbabwe takes their turn, capturing it again, likely for good. Madagascar’s African foothold of Fihaonana is the first city to take damage in this conflict.

Matamba has finished burning, freeing up a large hole in the middle of Zimbabwe’s core.

Minimap Watch: Adelaide falls back to New Zealand.

CBR In-Game Screenshot of Flip Flop

57: Flip Flop

New Zealand extends, or perhaps overextends, along the south coast to assault Wollongong. Sure, the ships could flip a city, but with no land army defense, it will just be lost back.

Speaking of which, Adelaide flips back.

CBR In-Game Screenshot of The Viking Raiders

58: The Viking Raiders

Does Ragnar have his shit together? I think Ragnar got his shit together. A well balanced navy escorting a land army makes its way north around the isles, taking Colby and thrashing Onchan, with plenty of steam to move onwards to Kirk Patrick and Ballasalla when he’s done. The Manx navy is looking a little outdated, this could be rough.

CBR In-Game Screenshot of Capital of Capitals

59: Capital of Capitals

The Shikoku homeland. An almost full carpet, hopefully they have similar density of units to the east fighting the Qing.

Kochi might be the first capital to reach 40 pop featured in a slide, but the Haida capital of Ninstints was 41 as of the end of last part.

CBR In-Game Screenshot of Peaceful War

60: Peaceful War

Korea makes peace with the Evenks. They’re still at war with the Yup’ik though, not that you could tell by any damage, despite being in range of each other.

CBR In-Game Screenshot of Prussian Pushback

61: Prussian Pushback

Having depleted their forces in the region flipping Bergen to a crisp, the Vikings are now on the back foot as Frederick has sent an army across the sea. Roskilde, after having been citadeled right up to the gates for centuries, finally looks set to change hands, and Ragnar may not be able to take it back.

CBR In-Game Screenshot of Parthian

62: Parthian

Back in north Parthia, the invaders continue their assaults. The Goths see little progress from the backline Crossbowmen, but a Trebuchet up front may start getting work done.

The Kazakhs on the other hand flow into the land like water, Cuirassiers looking to surround Almaty, and a couple Trebuchets have set up north of Ctesiphon, bombarding away.

CBR In-Game Screenshot of Press Eh to pay respects.

63: Press Eh to pay respects.

The King is dead, long live the king. Kassigluq falls and is set ablaze. Canada’s chances of retaking it are slim to none, and their chances of planting that Settler aren’t much better, I don’t think planting a 4th Calgary on the same spot for the 3rd time will work out.

The Fs were primed, and now we must release them. Farewell, William Lyon Mackenzie King.

CBR In-Game Screenshot of Big Oof

64: Big Oof

Madagascar better be regretting the decisions that led to this war, because… oof. Their navy almost completely gone, Zimbabwe surrounds Fihaonana unhindered and brings it to half.

That’s probably a Wonder in the center of the slide, but I have no idea what it is.

CBR In-Game Screenshot of The Bowman, The

65: The Bowman, The

The Evenks and Khamug Khanate declare an Irrelevant Coalition War against the Golden Horde. Or Bombogor just really wants this Golden Horde Composite Bowman to stop crowding his borders.

CBR In-Game Screenshot of Big Bauang Theory

66: Big Bauang Theory

Oh. See, that’s why not settling your surrounding area on all sides can be a problem. Eventually it becomes a front line. Taungoo fights their way in and surrounds the Sulu capital of Bauang. Remaining units scramble to defend, but it may be too late.

Ndongo reclaims its capital again.

CBR In-Game Screenshot of Progress, Finally

67: Progress, Finally

Uruguay decides to try something else other than marching into jungle, and instead sends boats… to a jungle island. But it’s working, and Kuhugupe falls to the red. It’s been a slow go, but Lavalleja refuses to be stalemated.

CBR In-Game Screenshot of The Raid Continues

68: The Raid Continues

Onchan falls and Kirk Patrick is well below half. The Vikings are on a roll, can they keep it up? Manx territory looks rather empty, dare I say yes?

CBR In-Game Screenshot of Taking It Back

69: Taking It Back

Australia rallies back in the north, reclaiming Newcastle and pelting Bunbury to half health with ranged attacks. They also lost and reclaimed Adelaide again a few slides back, but Fs are more important.

The southern Sulu cities are sparsely defended, yet a trio of Lantakas advance on Bhamo. Hopefully they have a melee unit with them offscreen to the west, or it’s wasted effort.

CBR In-Game Screenshot of The State of Southern Africa

70: The State of Southern Africa

The Zimbabwe core. A little light on units in the middle, but winning productive wars on the borders. Fihaonana in the red, and Kabasa in full black, so all is well. And Zvongombe is another massive landlocked desert flood plain city at 42 pop.

Ndongo has five melee units remaining. And Benin has dropped two citadels over the last few turns north and northeast of Kindongo, stealing another 4 tiles and putting borders on the walls of the city.

CBR In-Game Screenshot of Haida CAN Into Relevance

71: Haida CAN Into Relevance

Forget Vabukori and Elevala, Haida goes for the bigger city and in possibly the first real β€˜snipe’ of the CBRX, takes Boera from under the nose of Seddon. It may not hold, but that is, I believe, the biggest distance from home capture, beating the old champion of Venezuela taking Old Port Erin. Chavez will not be happy to hear that bit of news reported back to him, with a second witness confirming it.

In the bottom left corner, 30 pop Darwin is in the red, New Zealand putting that new Cruiser to work.

CBR In-Game Screenshot of The Raid’s Over

72: The Raid’s Over

Manx push back a bit, recapturing Onchan and scattering Ragnar’s naval assault. The path to New Port Erin is clear and the city is at low health, perhaps that can be reclaimed as well.

Maratha complete a Wonder. Blue Cassette, fill us in, please.

**Dawkinzz Note: That would be Fasil Ghebbi, a defensive wonder which improves the combat strength of nearby friendly units and gives +9 Defense to the city as well as a minor engineering bonus.

CBR In-Game Screenshot of Big Bauang Attack

73: Big Bauang Attack

A few Sulu ranged units have already set up to start firing when their capital flips, but it may not be enough with only one melee ship in the immediate vicinity. They do however, retake Newcastle.

CBR In-Game Screenshot of Of Course They Did

74: Of Course They Did

And Madagascar loses their foothold on southern Africa as Fihaonana falls. They need peace, pronto, and some time to rebuild their military.

That Ideology notification is, I’m told, Zimbabwe choosing Autocracy. As if they’d choose anything else after the blood spilled last and this part.

CBR In-Game Screenshot of Neighbor From Across The Way

75: Neighbor From Across The Way

Uruguay isn’t satisfied with the Antarctic colonies, and comes to check out Africa, taking Mpungo A Ndongo. Zimbabwe rains hell on Kabasa, but a melee unit is still turns away.

CBR In-Game Screenshot of North and South

76: North and South

The Kazakhs expansion continues, taking Ctesiphon, though it may flip a few times. Like Salya’Harad again, apparently it flipped a couple turns back. The push on Almaty appears to be being repelled, and the Goths continue to have no luck in Rhages.

CBR In-Game Screenshot of Everyone Quiet

77: Everyone Quiet

A line of Apache Explorers explore a little close to a certain mountain range on the edge of Antarctica.

CBR In-Game Screenshot of CannonCon 2320

78: CannonCon 2320

Venice gets a Cannon around the mountain in position to reach Bursa, only to be met by a Turkish Cannon, a Bombard. An argument over size mattering and what you do with it ensues for hours.

Port Erin is reclaimed by the Manx, as Qin and Canton end hostilities.

CBR In-Game Screenshot of Upgrades!

79: Upgrades!

Nhizny Novgorod is set ablaze as unhappiness is still a problem in Grandma Eadni’s lands. Long Muscovy is cut apart again, Vologda becoming an exclave.

Frankfurt An Der Oder has survived the Goth Backdoor Squad, and Prussia now fields both Line Infantry, the Enlightenment Era mod gunpowder unit, and its upgrade, their UU Rifleman, the Landwehr.

CBR In-Game Screenshot of Millions Dead

80: Millions Dead

Papua reclaims Boera, but the damage is done. 33 to 16 to 8, that is a hit to production.

CBR In-Game Screenshot of Frederick Goes West

81: Frederick Goes West

Roskilde flips like Bergen did, all the way down to one pop. But at least it has surrounding tiles again. Alabur also takes damage into the yellow as the blue wave surges west.

CBR In-Game Screenshot of Ring Bells, Bauang The Drums

82: Ring Bells, Bauang The Drums

The Taungoo navy takes Bauang, and attempt to hold a defensive perimeter as the aforementioned Sulu ranged units bombard the city. But I believe the one Privateer southwest of the city without an icon in the middle of an animation is a Sulu vessel, so we shall see.

CBR In-Game Screenshot of Going Out With A Bauang

83: Going Out With A Bauang

Yep. So Sulu recapture their capital for a moment, but are still surrounded, with little melee support to pull that off again should Taungoo recapture, which they probably will.

CBR In-Game Screenshot of Locked Down

84: Locked Down

More success for Uruguay as they take Kuhugupe, locking the Kuikuro in their jungles. Does Lavalleja continue, or know when to call it a day?

Uruguay also get another wonder. Blue Cassette?

**Dawkinzz’ Note: That would be the Crystal Palace, built by Heisenberg I think. It provides +5% Great Person Generation for each Great Work in the city as well as 3 Great Work of Art slots, which provide a theming bonus when from different civilizations**

CBR In-Game Screenshot of Getting Boera-d

85: Getting Boera-d

Seddon decides he wants Boera now, so he takes it. Darwin has also flipped, in the bottom left corner.

Papua’s navy spreads thinner...

CBR In-Game Screenshot of About Time

86: About Time

Korea finally advances on the Yup’ik exclave of Naparyarraq.

CBR In-Game Screenshot of Next of Qin

87: Next of Qin

A shot of the now-peaceful Qin-Canton border. Too bad we didn’t see it during the war, but it doesn’t look like much happened.

Shikoku has pushed west from Ba’arin with a citadel, and filled the land with units. Planning something, Sakamoto?

CBR In-Game Screenshot of Where To?

88: Where To?

Their north African carpet is starting to fill in, all the Moors need is a target.

CBR In-Game Screenshot of Venezuela Watches

89: Venezuela Watches

North Oceania. A scattering of random boats, and a small skirmish or two. A Papuan Frigate is about to sink a Haiti Galleon.

CBR In-Game Screenshot of Deserted Desert: Outback Edition

90: Deserted Desert: Outback Edition

We can see the New Zealand capture of Darwin, and they also flipped Adelaide that turn, but lost it already. Australia’s core is looking mighty empty.

CBR In-Game Screenshot of P-P-Parthi Time

91: P-P-Parthi Time

And Papua takes Darwin back. This gives Maratha an opportunity, as a couple Galleons finally arrive and try to make relevance.

Palmyra wants a piece of Parthia too.

CBR In-Game Screenshot of I’d sell my Sulu for a...

92: I’d sell my Sulu for a...

The Sulu landing in Bhamo goes well, a contingent making landfall in good condition. But something’s missing… a melee unit. A Ship Of the Line is nearby, but Bhamo is not coastal.

You just lost your capital again, Jamalul, this is not the time to be making rookie mistakes.

Peace is made with Tonga, no Tonga Time this week.

CBR In-Game Screenshot of The Final Countdown

93: The Final Countdown

Zimbabwe takes Kabasa again, and now after Benin’s citadeling, Kindonga only has one land tile other than the city itself. Uruguay’s ships blockade the ports as they celebrate another Wonder at home, completing the Louvre.

Only one melee unit remains outside Kabasa, surrounded by Zimbabwe troops with their backs up against the Benin border.

CBR In-Game Screenshot of Rebellion on the Great Lake

94: Rebellion on the Great Lake

Back where we started this episode, a solid Apache frontline advances on Cut Knife, seemingly enough to take the city, but we’ve seen this before. These early-midgame ranged units foiled by hills and forest, unable to hit the city despite being in range.

More Metis rebels between Duck Lake and Fort Garry.

CBR In-Game Screenshot of On Your Knees, Ndongo.

95: On Your Knees, Ndongo.

Nzinga begs for mercy again, and is granted. Zimbabwe is content to bow out with the capital, leaving Ndongo with but two tiles of land. The closing of borders has shunted their last remaining melee unit south into the open lands from the burning of Matamba. But they stave off immediate destruction, as a Caravel fights out of the city and sinks the Uruguayan Ship Of The Line that threatened to do so.

The Goths and Prussia put it to rest, tired of fighting each other through Muscovy’s lands.

CBR In-Game Screenshot of Lost In The Sauce

96: Lost In The Sauce

We see Geronimo claim the last bit of Greenland coast, planting Hakaye inland up against a mountain.

A whole fleet of Haitian Triremes attempt to mount a rescue mission, trying to save one in the far north trapped behind ice and Iroquois borders.

Homeless Scots wander in the snow.

CBR In-Game Screenshot of Rhage Against The Machine

97: Rhage Against The Machine

One last look at northern Parthia, and Ctesiphon is reclaimed. The Kazakhs are looking depleted, but still try for Almaty. The Goths continue to flounder outside of Rhages, the city still undamaged, or recovering to full every turn.

CBR In-Game Screenshot of End of a Bo-Era

98: End of a Bo-Era

And we close out in northeast Papua, where they reclaim a decimated Boera, but it is not defended and continues to be vulnerable to flipping again. The New Zealand navy also surrounds Elevala, and the Haida are not done here yet, threatening Vabukori.

A final examination of the minimap sees Viking recaptures of Roskilde and Port Erin, and the taking of Kirk Patrick.

This has been a hell of a (long) part, but what a part it was. I had a blast, hopefully it doesn’t take three years to get to do this again. This is X-Rok, signing out.